Deploy Your Application using AWS Amplify
The last step in almost any software project is deploying your application to end users. If you ever deployed an application before, you know it can be tedious and time-consuming. Luckily by using AWS Amplify, we can streamline this process.
In a previous post, we built a Gatsby blog. I'll be using this codebase for deployment.
Install Amplify
To get started, we need to install the amplify CLI:
npm install -g @aws-amplify/cli
Configure Amplify
run:
amplify configure
NOTE: this will open your default browser and ask you to log in to your AWS administrator account.
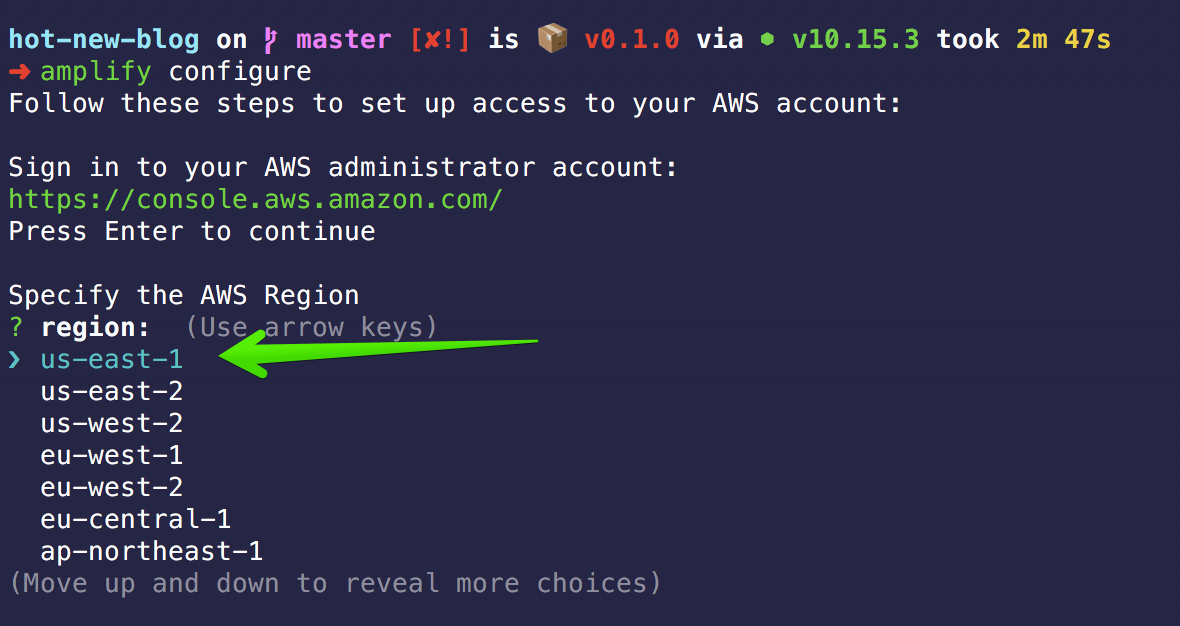
Once authenticated, pick your region:
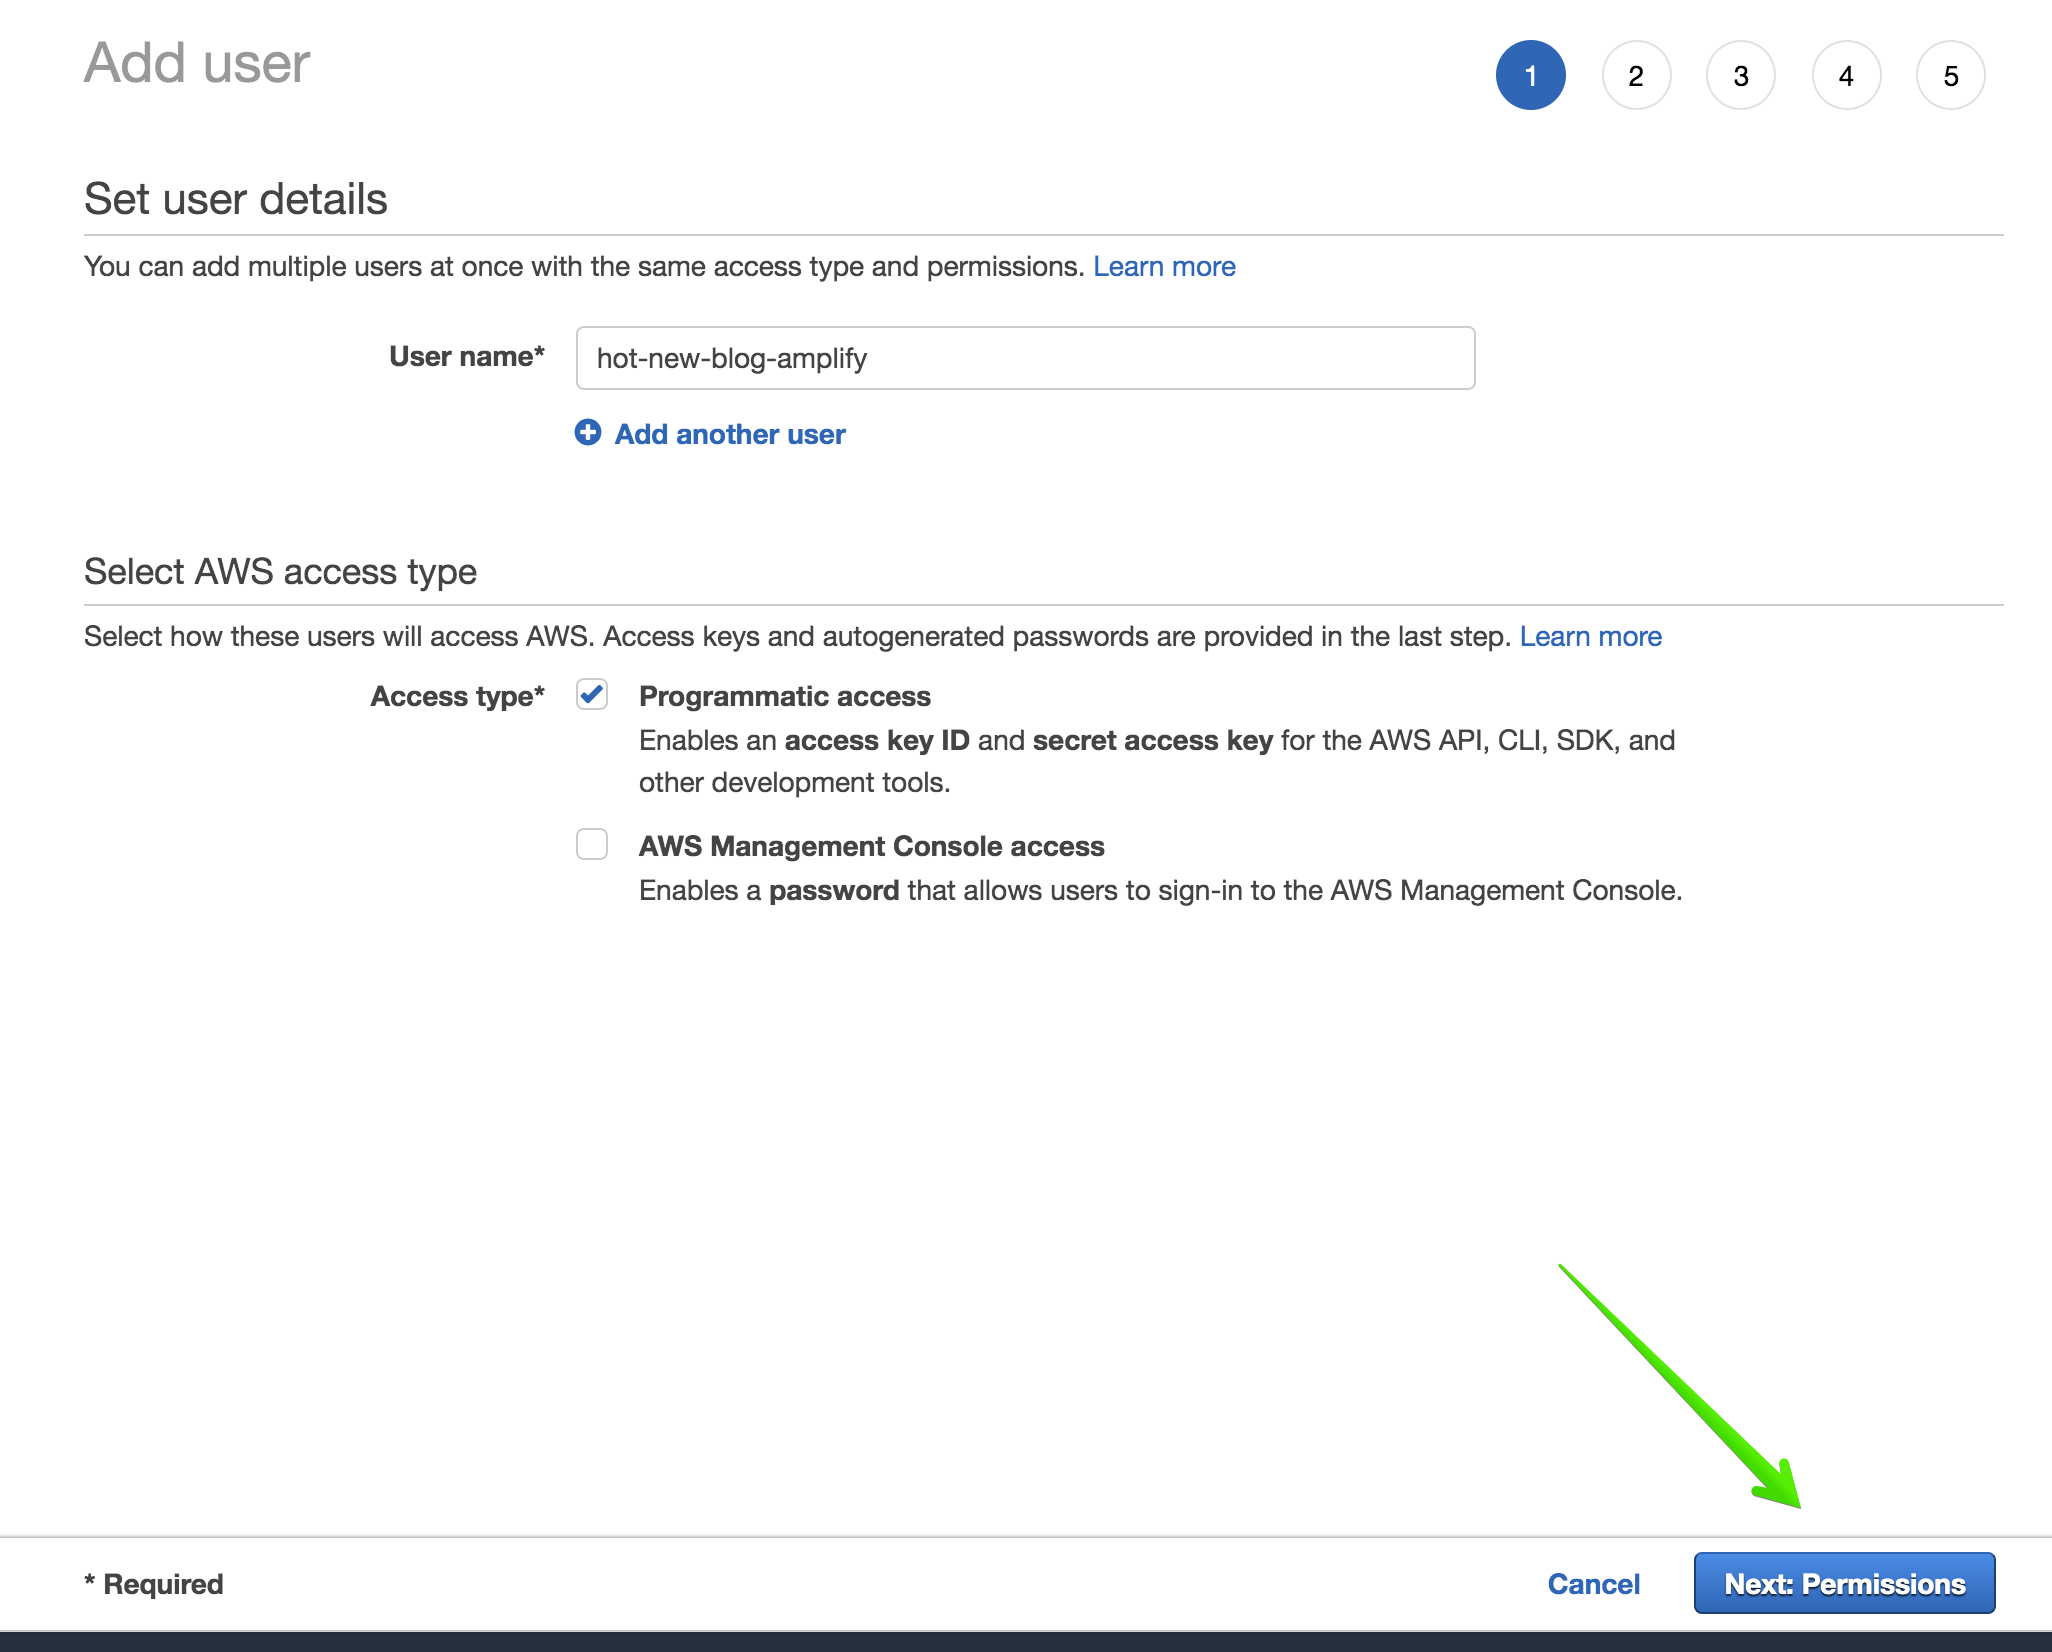
Set your username: hot-new-blog-amplify

NOTE: this will open your default browser to this page, click the Next: Permissions button:
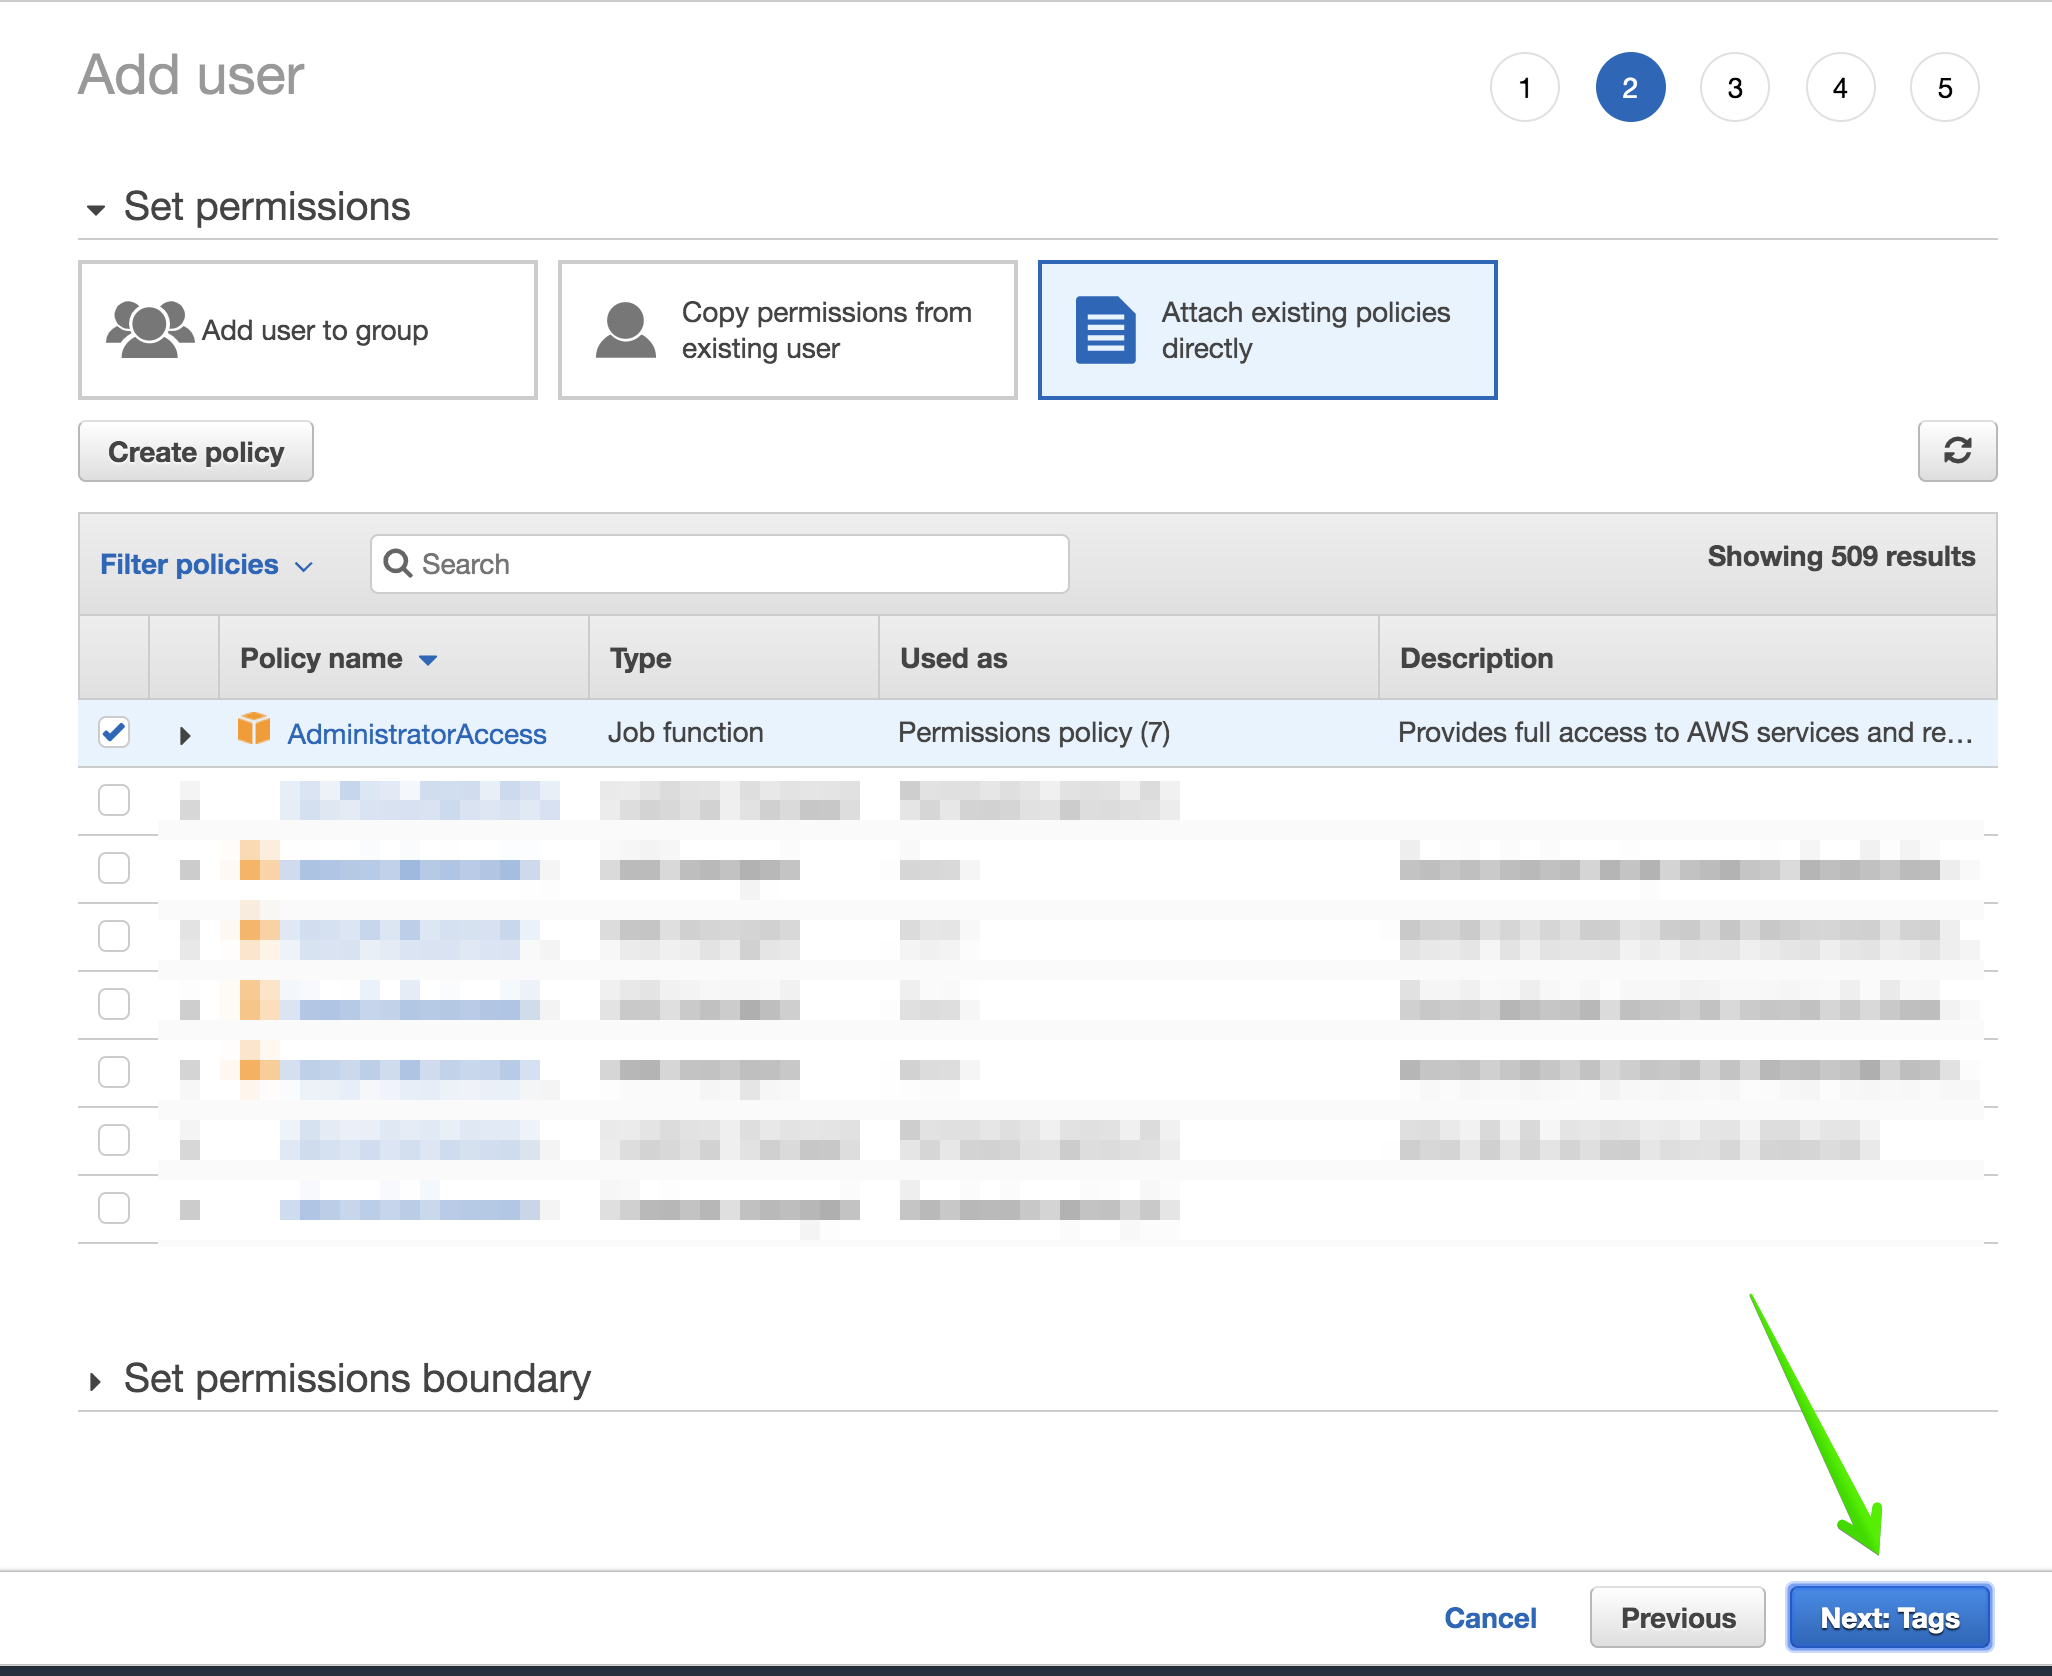
Next, you'll see a page like:
You can click the Next: Tags button.
Next:
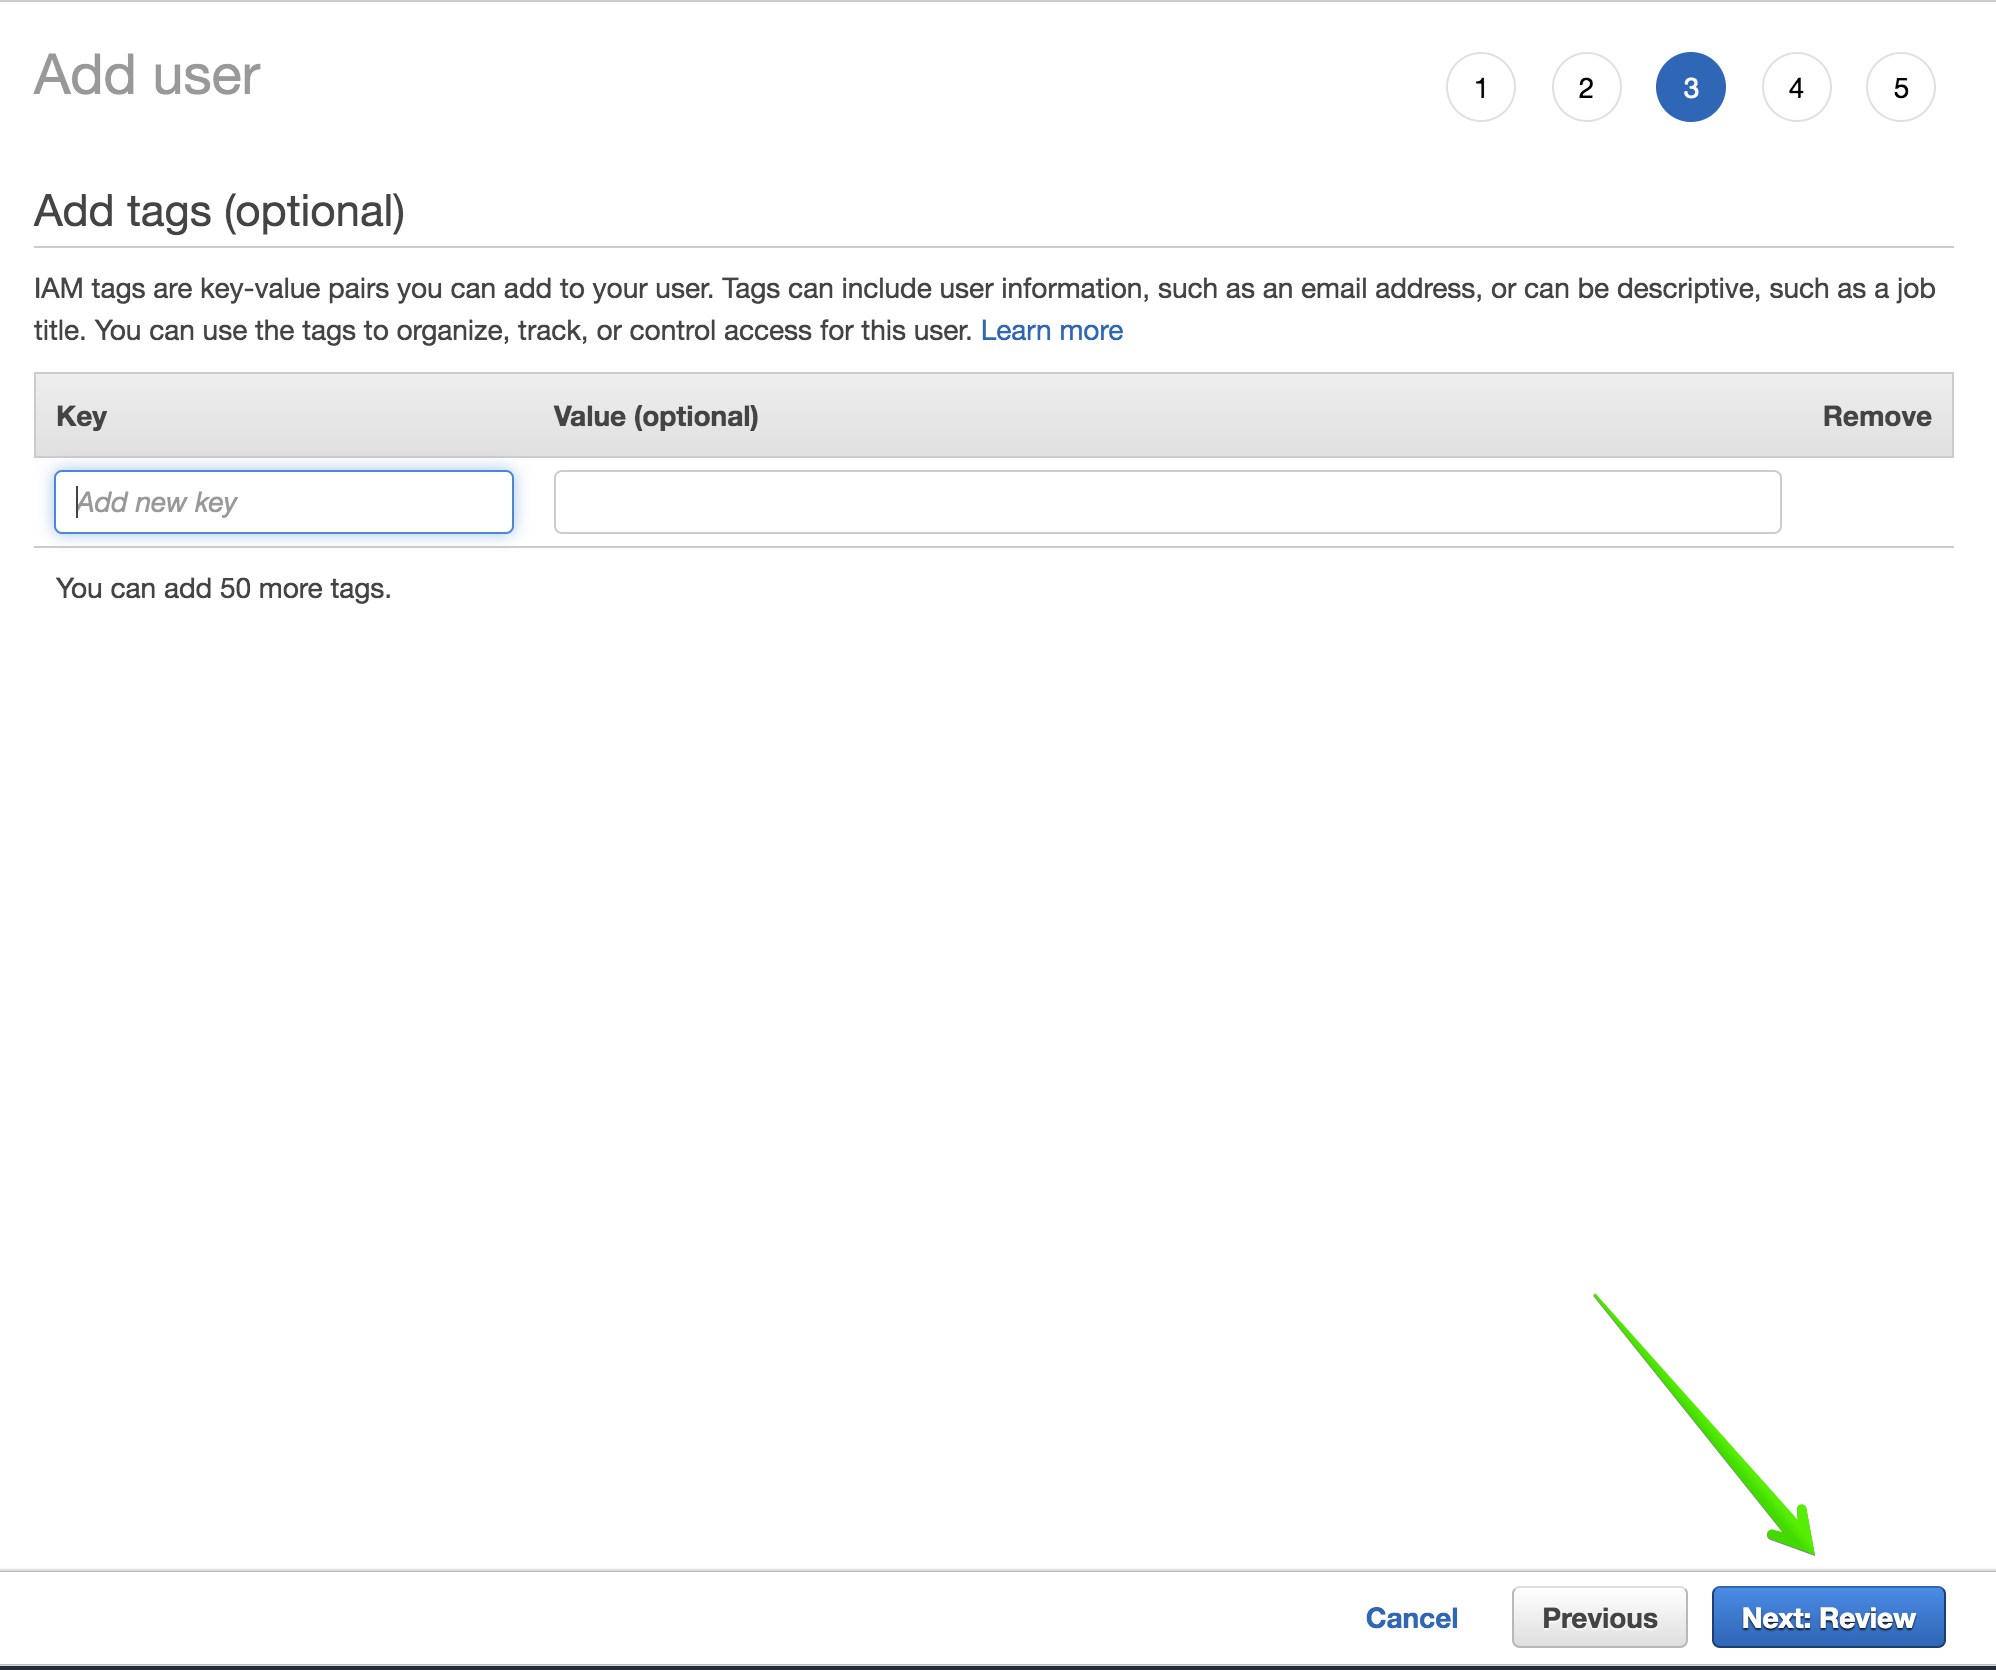
Click the Next: Review button.
Next:
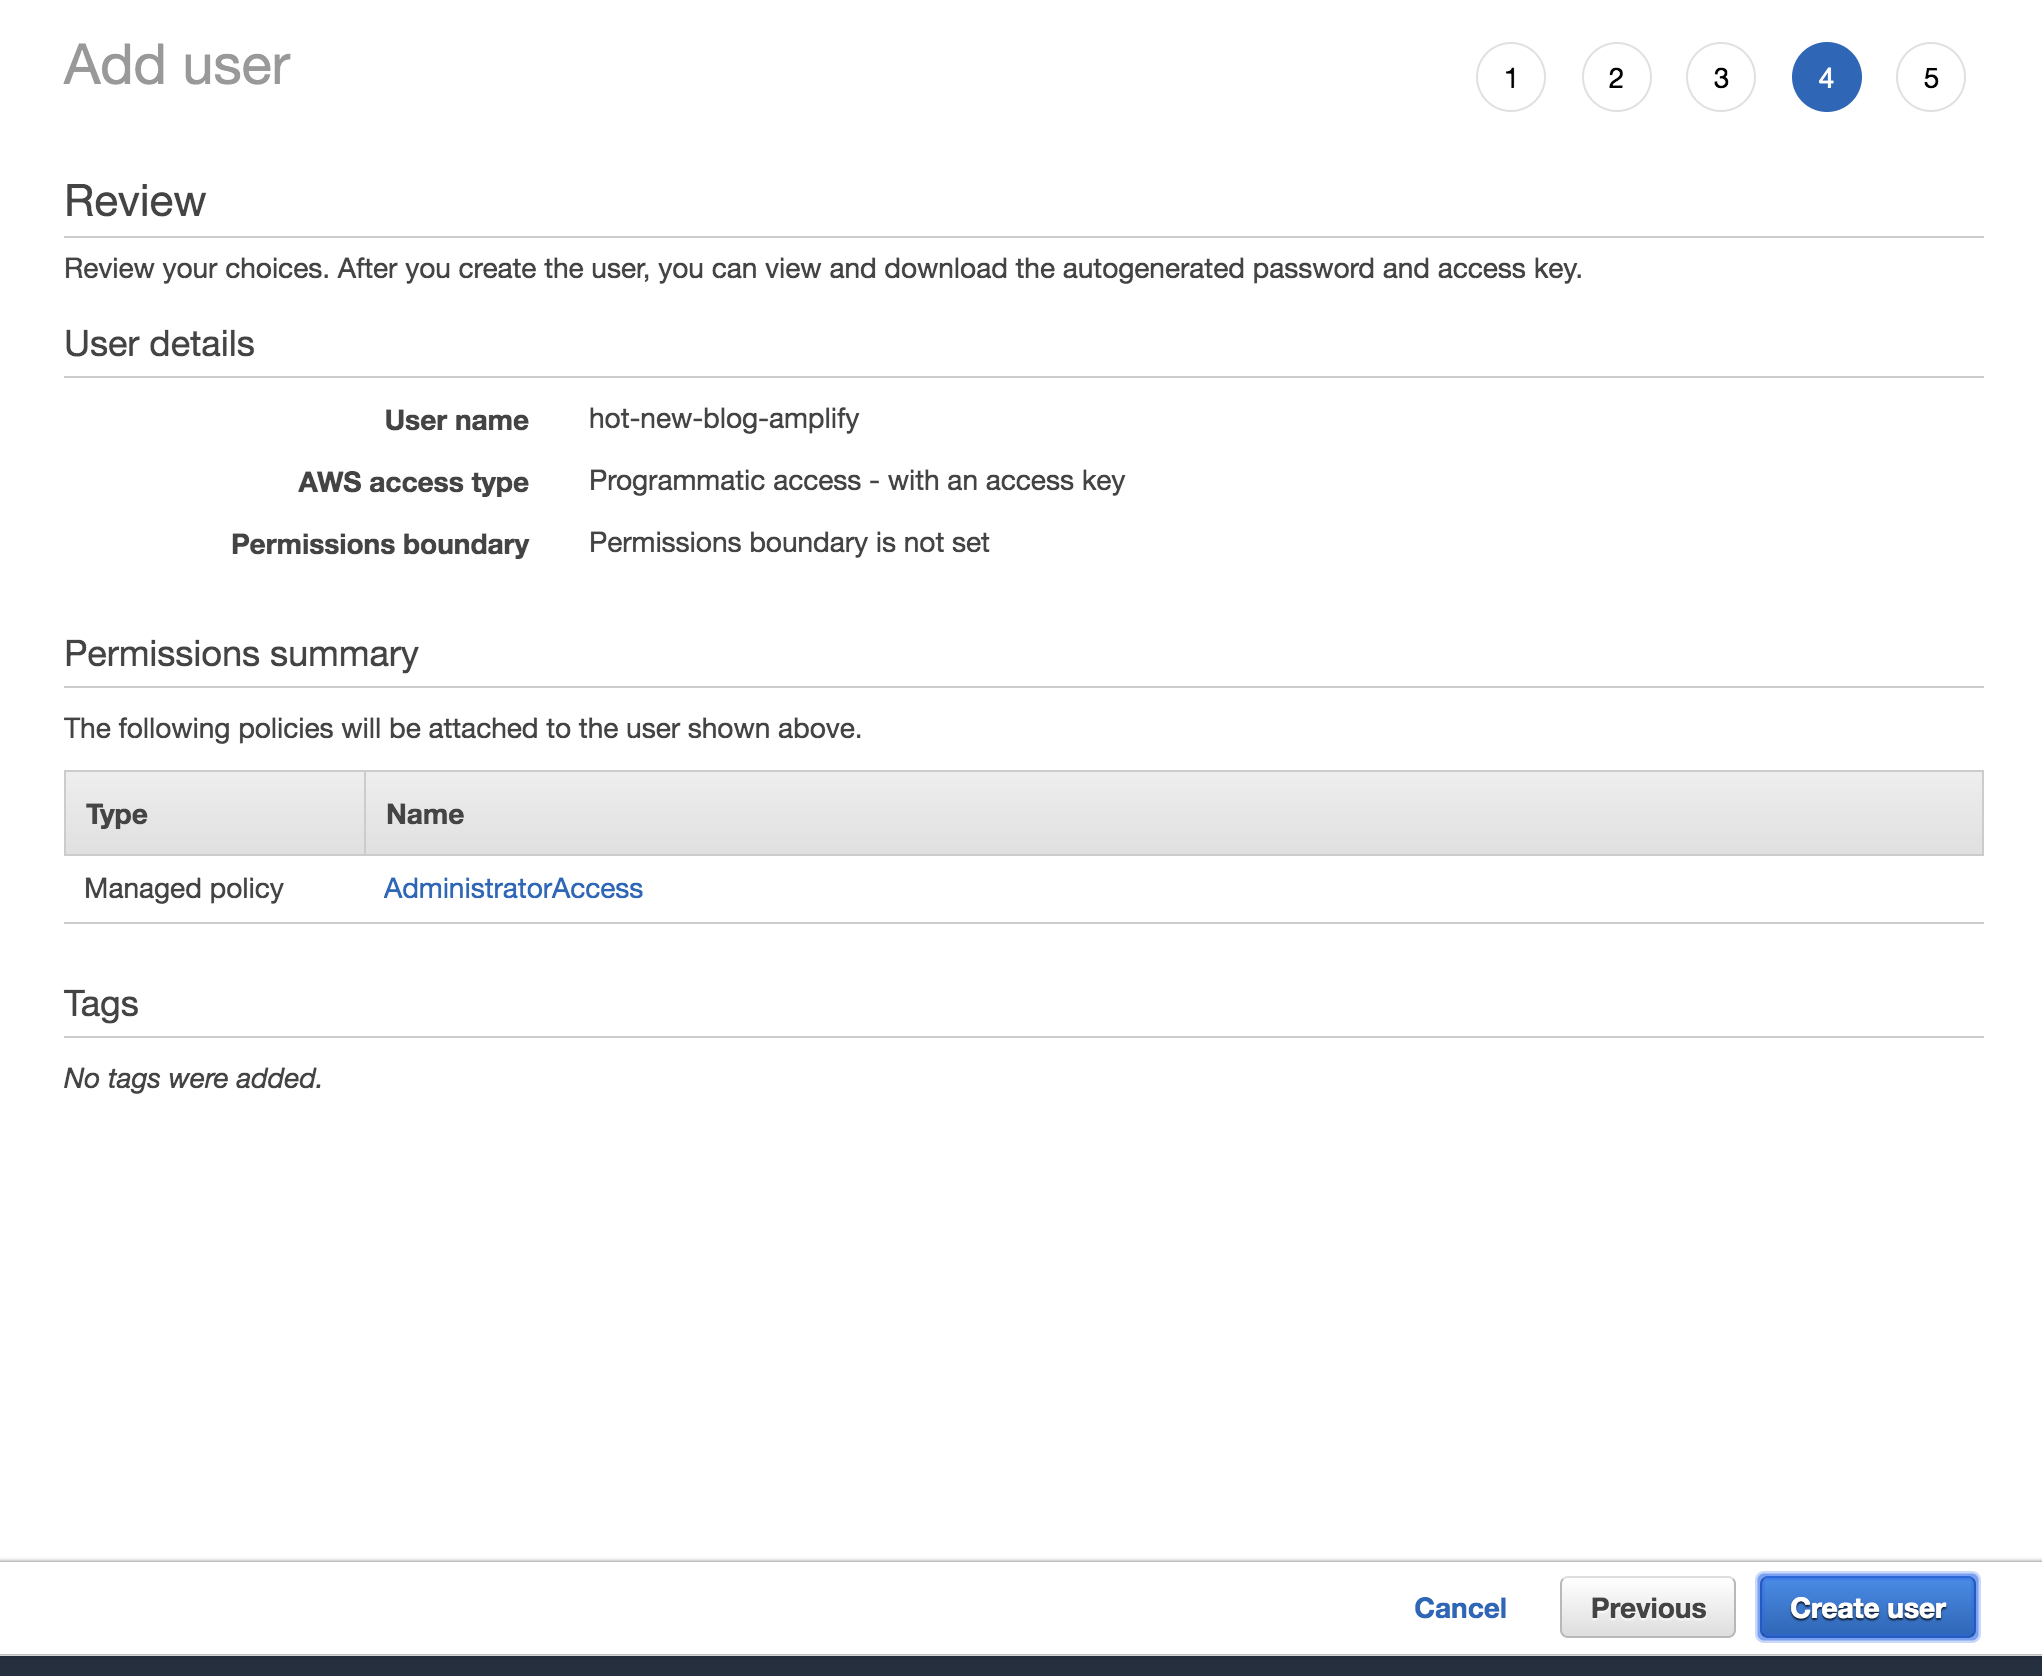
Click create user.
Next:
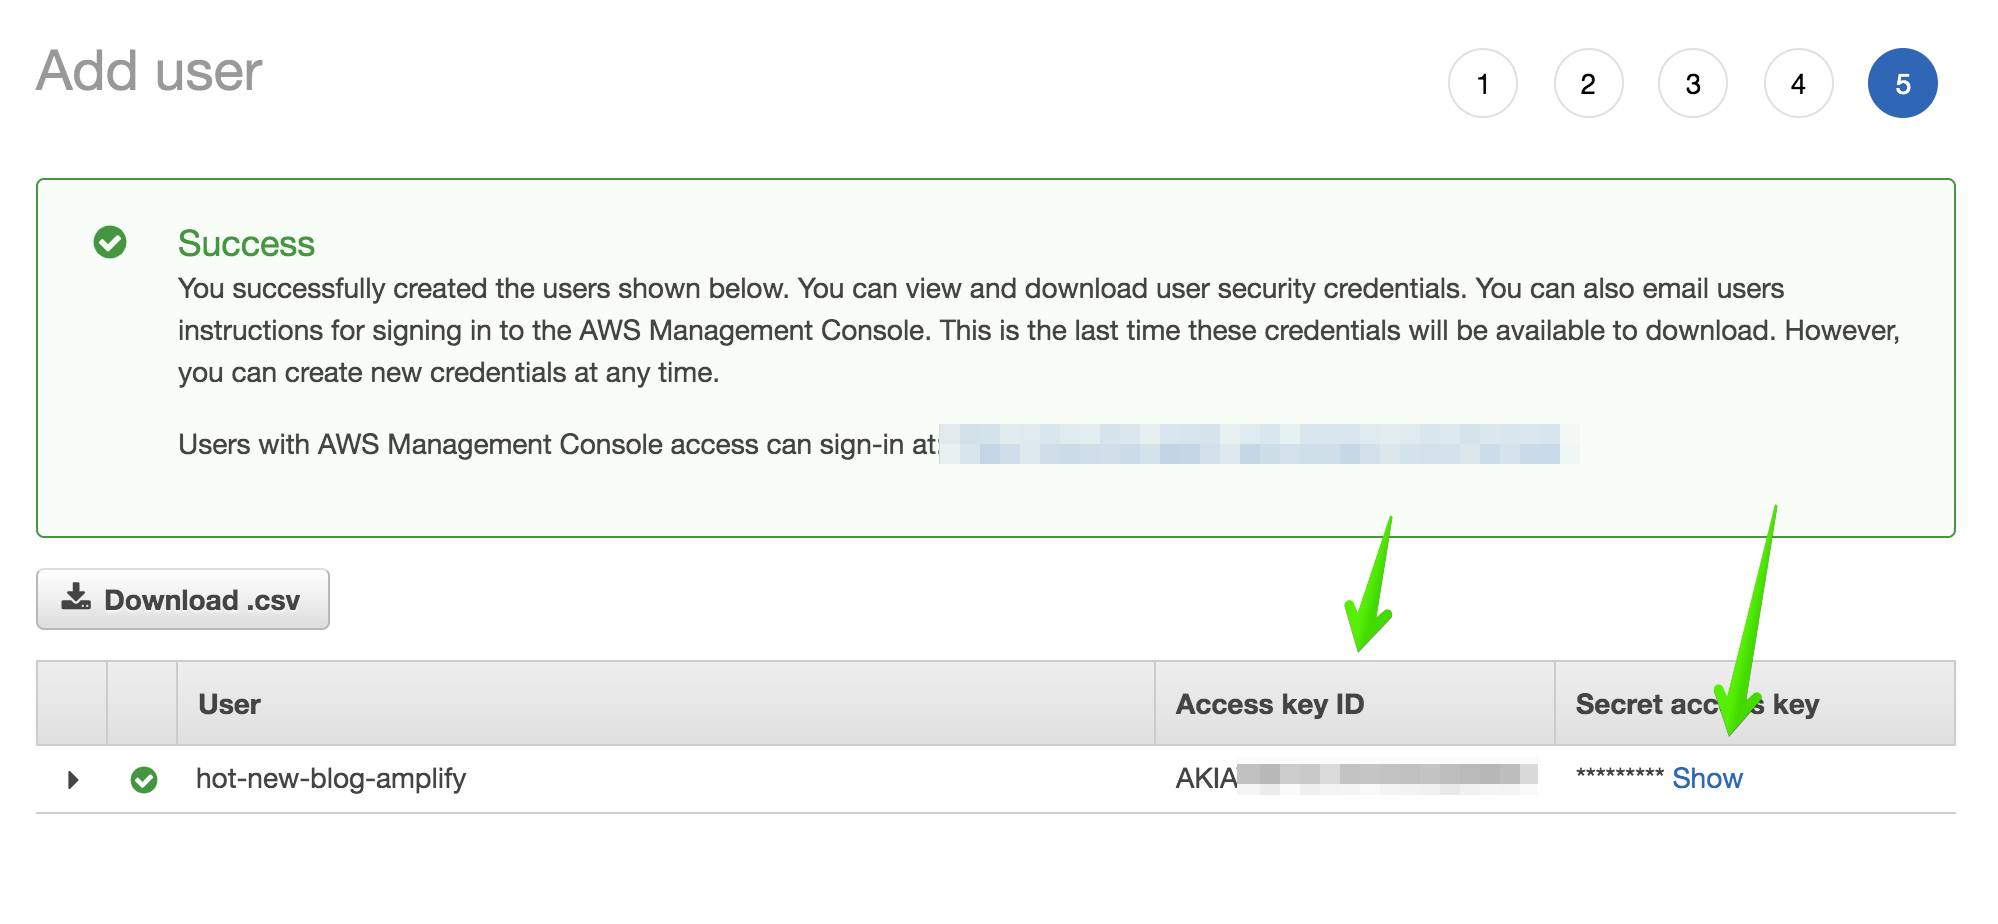
Copy the Access key and Secret key. You'll need to paste these into the terminal for the next step.
Paste in your access key:

Paste in your secret key:

Give your new profile a valid name: blog-amplify:

Initialize Amplify for our project
Next we will setup amplify for our specific project. We will deploy our Gatsby blog using CloudFront and S3.
first run:
amplify init
use these defaults:
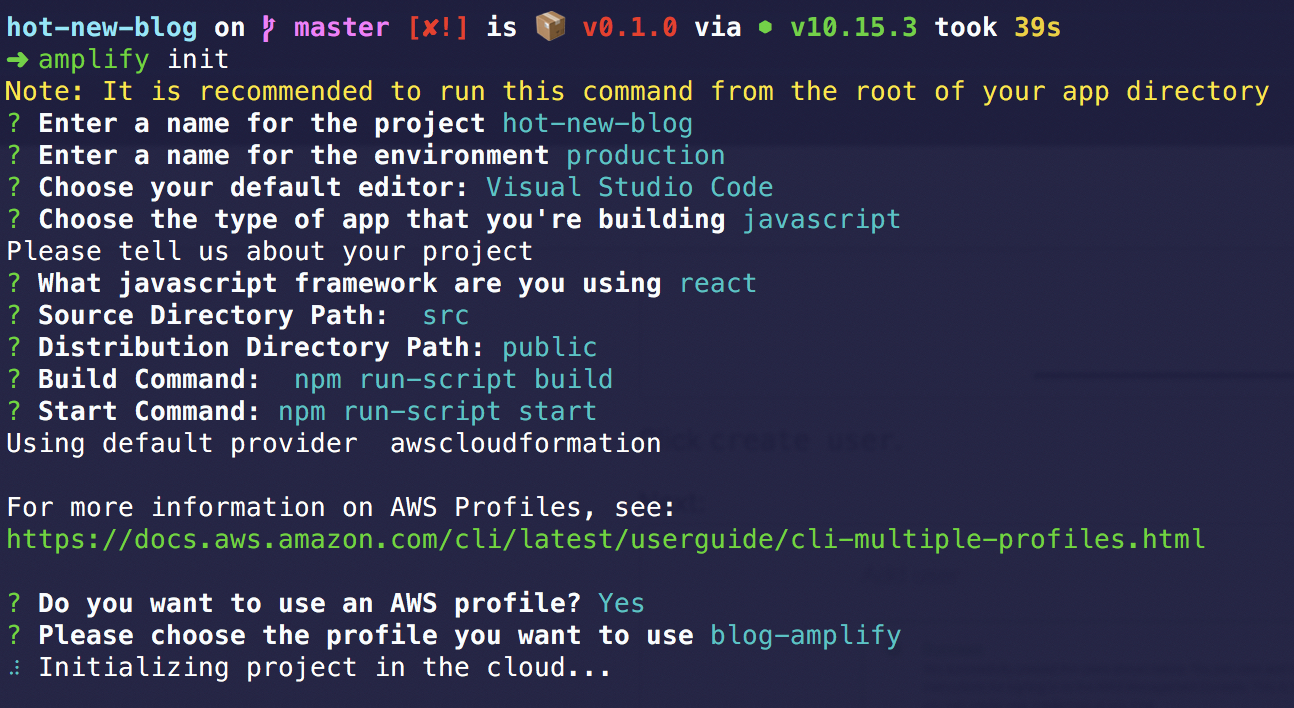
In a few moments, you should see:

Add hosting to our Amplify project
We're almost there. This is the last step before we have a production-ready blog!
Let's add hosting to our project:
amplify hosting add
Select these options:

Next, run:
amplify publish

NOTE: this step can take 10-15 minutes to complete.
In the background, AWS amplify is using CloudFormation to build out our infrastructure. If you're curious to see what the template looks like you can browse: amplify/backend/hosting/S3AndCloudFront/template.json
At this point, you should be presented with your production url:

Congrats. You have successfully deployed your blog!
This url is pretty ugly. You'll probably want to add a CNAME record in your DNS registrar.