How to Build a Gatsby Blog
A few months ago, we had the opportunity to migrate cloudnexa.com to Gatsby. We were unhappy with our current WordPress implementation -- and Gatsby fit well with our current tooling and frameworks -- so we took the plunge.
After a few quirks and gotchas, we successfully relaunched. I decided to share our experience below.
Create our Gatsby Blog
In case you haven't heard of Gatsby, it's a React static-site generator.
Gatsby allows you to pull data from anywhere -- APIs, Markdown, CSV, JSON, other CMSs, etc. All of these sources are queried using GraphQL.
To keep it simple, we will use Markdown to write our blog posts. However, you can always use a headless CMS such as Contentful like we did for cloudnexa.com.
Let's get started.
Prerequisites
We'll also need to install the Gatsby CLI on our local development machine:
npm install -g gatsby-cli
Generate a Starter Blog using Gatsby
Gatbsy offers several templates called "starters" used to quickly spin up your projects and all the necessary tooling to get started. You can find several starter examples here.
For our purposes we'll be using the gatsby-starter-blog
gatsby new hot-new-blog https://github.com/gatsbyjs/gatsby-starter-blog
Start the Gatsby development server:
cd hot-new-blog
gatsby develop
Result:
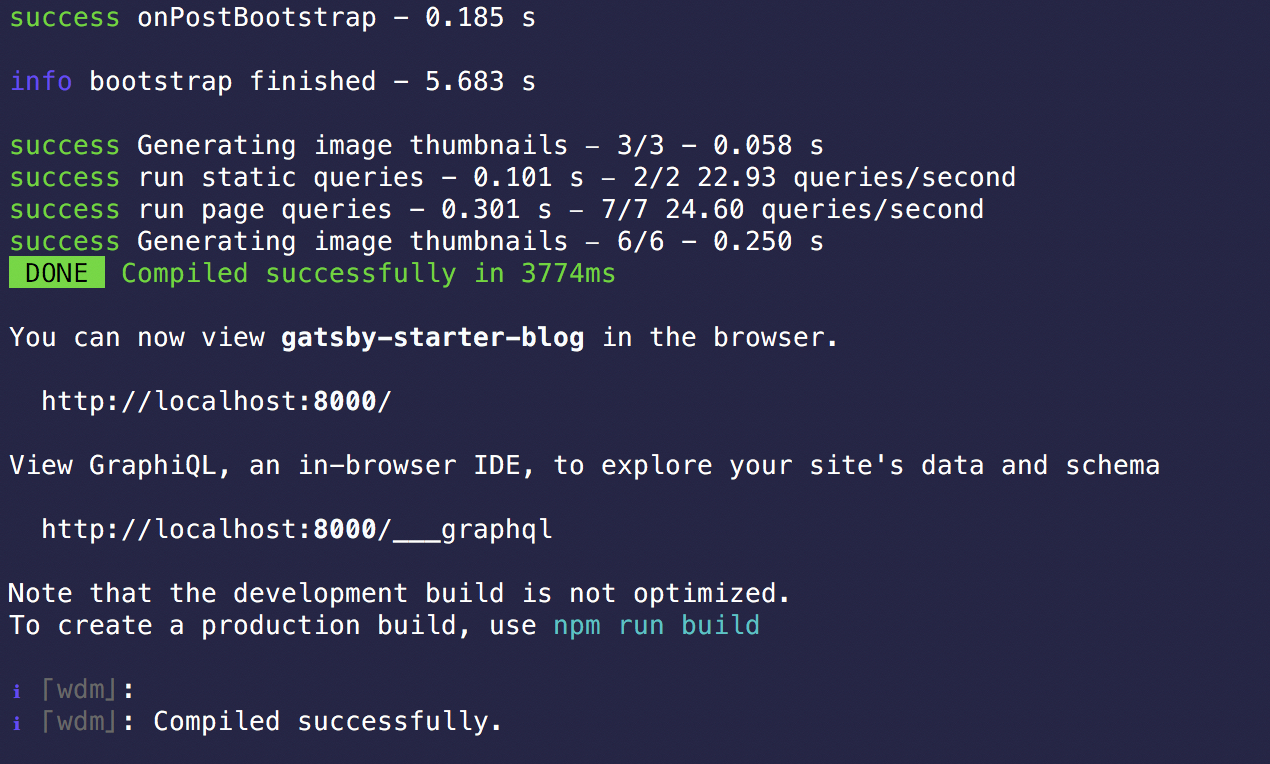
You can now access your starter blog from your web browser at: http://localhost:8000/.
Hopefully you see something similar to this:
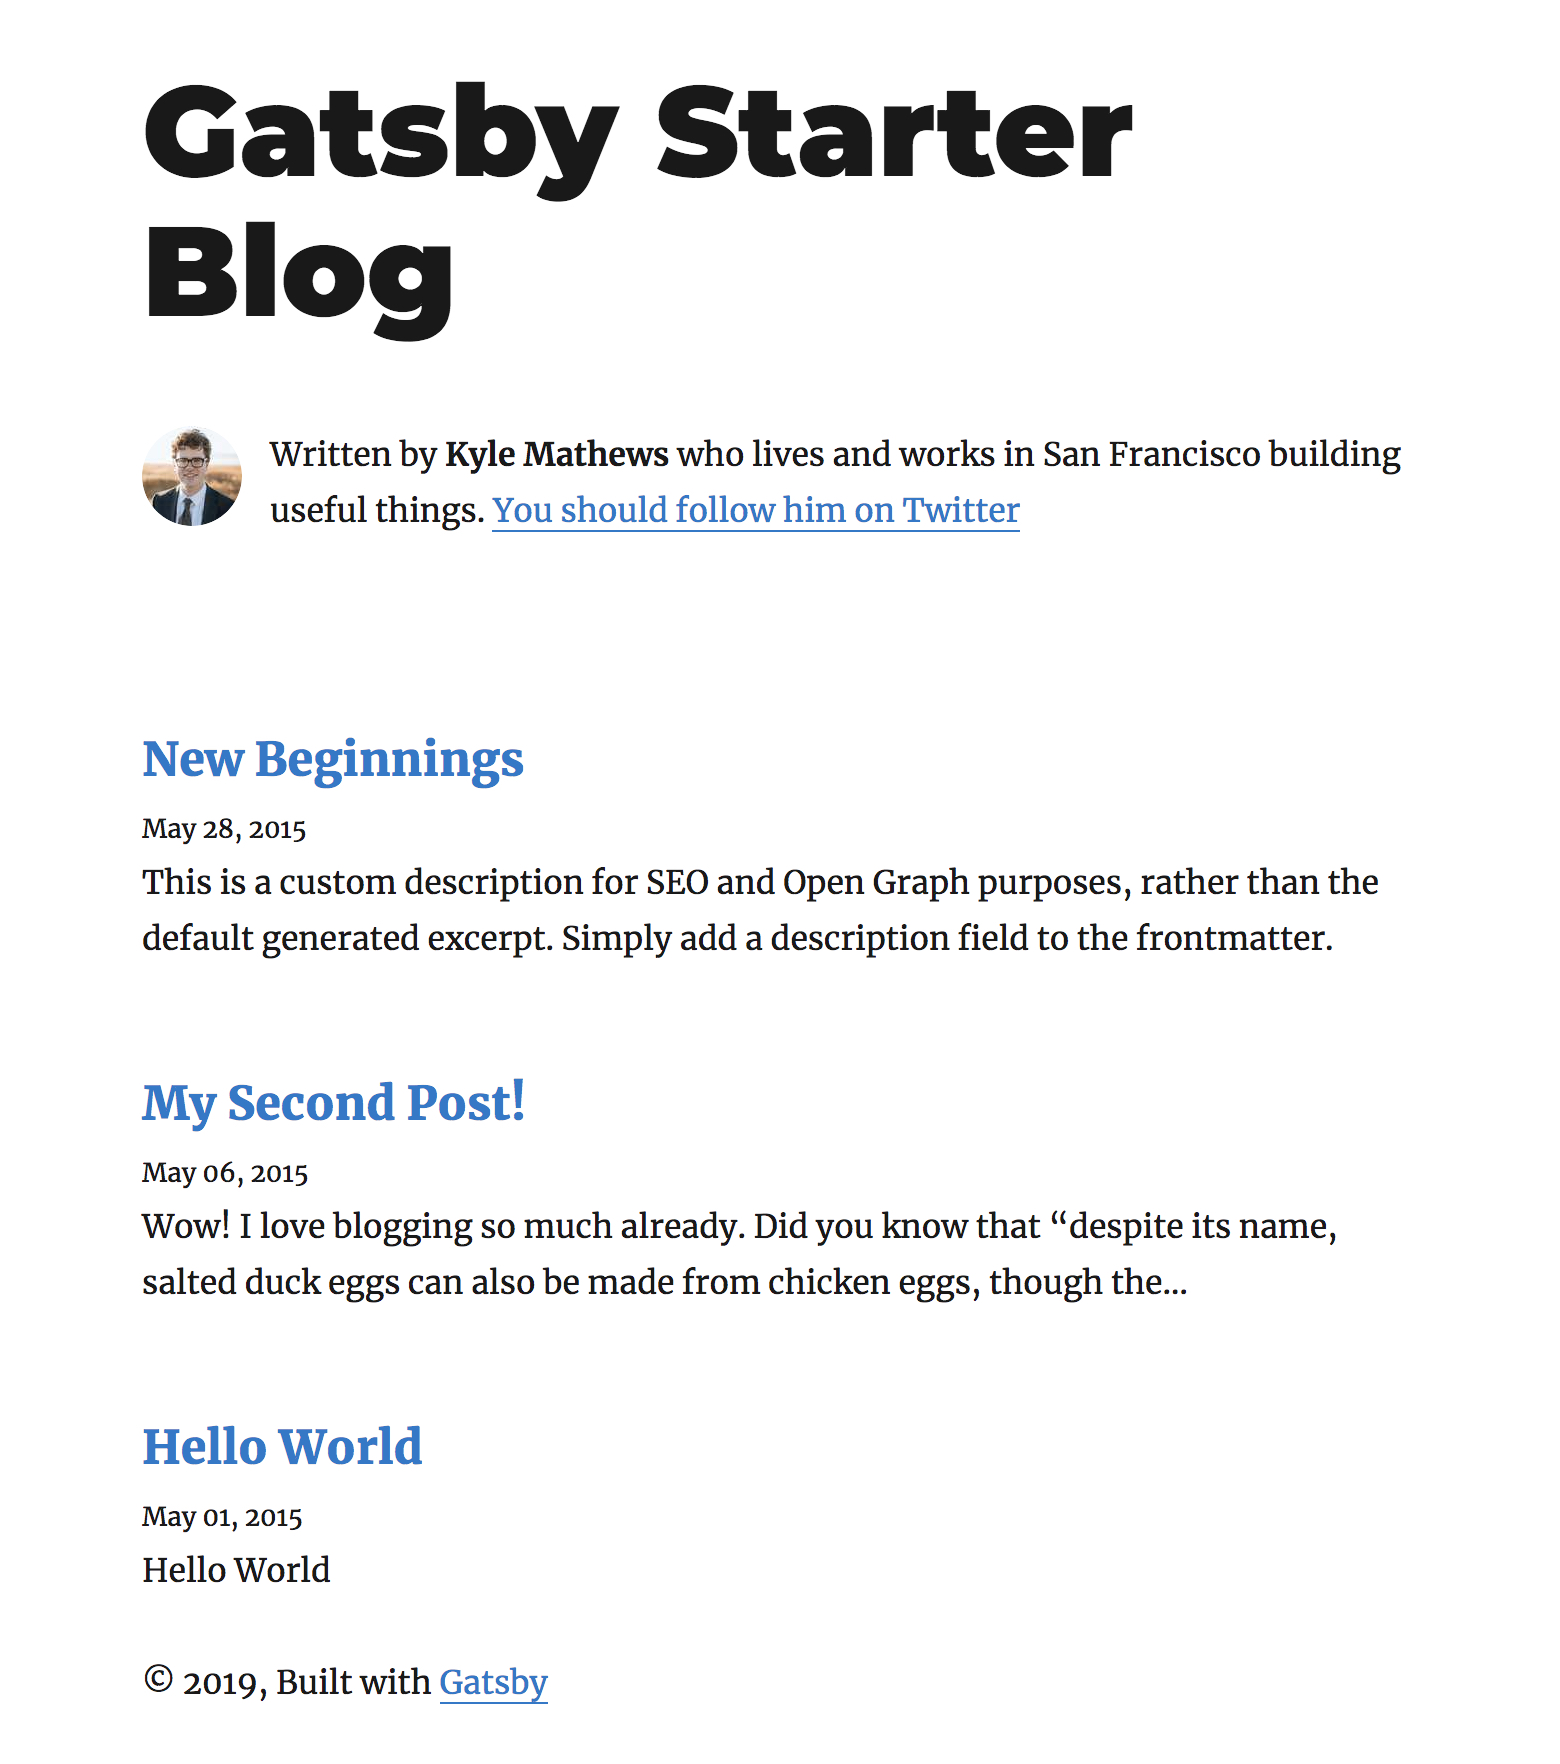
NOTE: Be sure to keep the development server running while you're working ‼️
Create our first blog post
As you can see from above, our initial build created some dummy posts. You can delete them if you want, or simply ignore them.
To create your first real post, open up another terminal window and change directories until you reach the root of hot-new-blog.
Then run:
cd content/blog
mkdir my-first-post
cd my-first-post
touch index.md
Inside my-first-post.md, paste this in:
---
title: My First Post
date: "2019-08-29T22:12:03.284Z"
---

Awesome new content goes here...
💡NOTE: you will probably want to update the date value in the frontmatter section.
Save the file -- you should now see something like this:
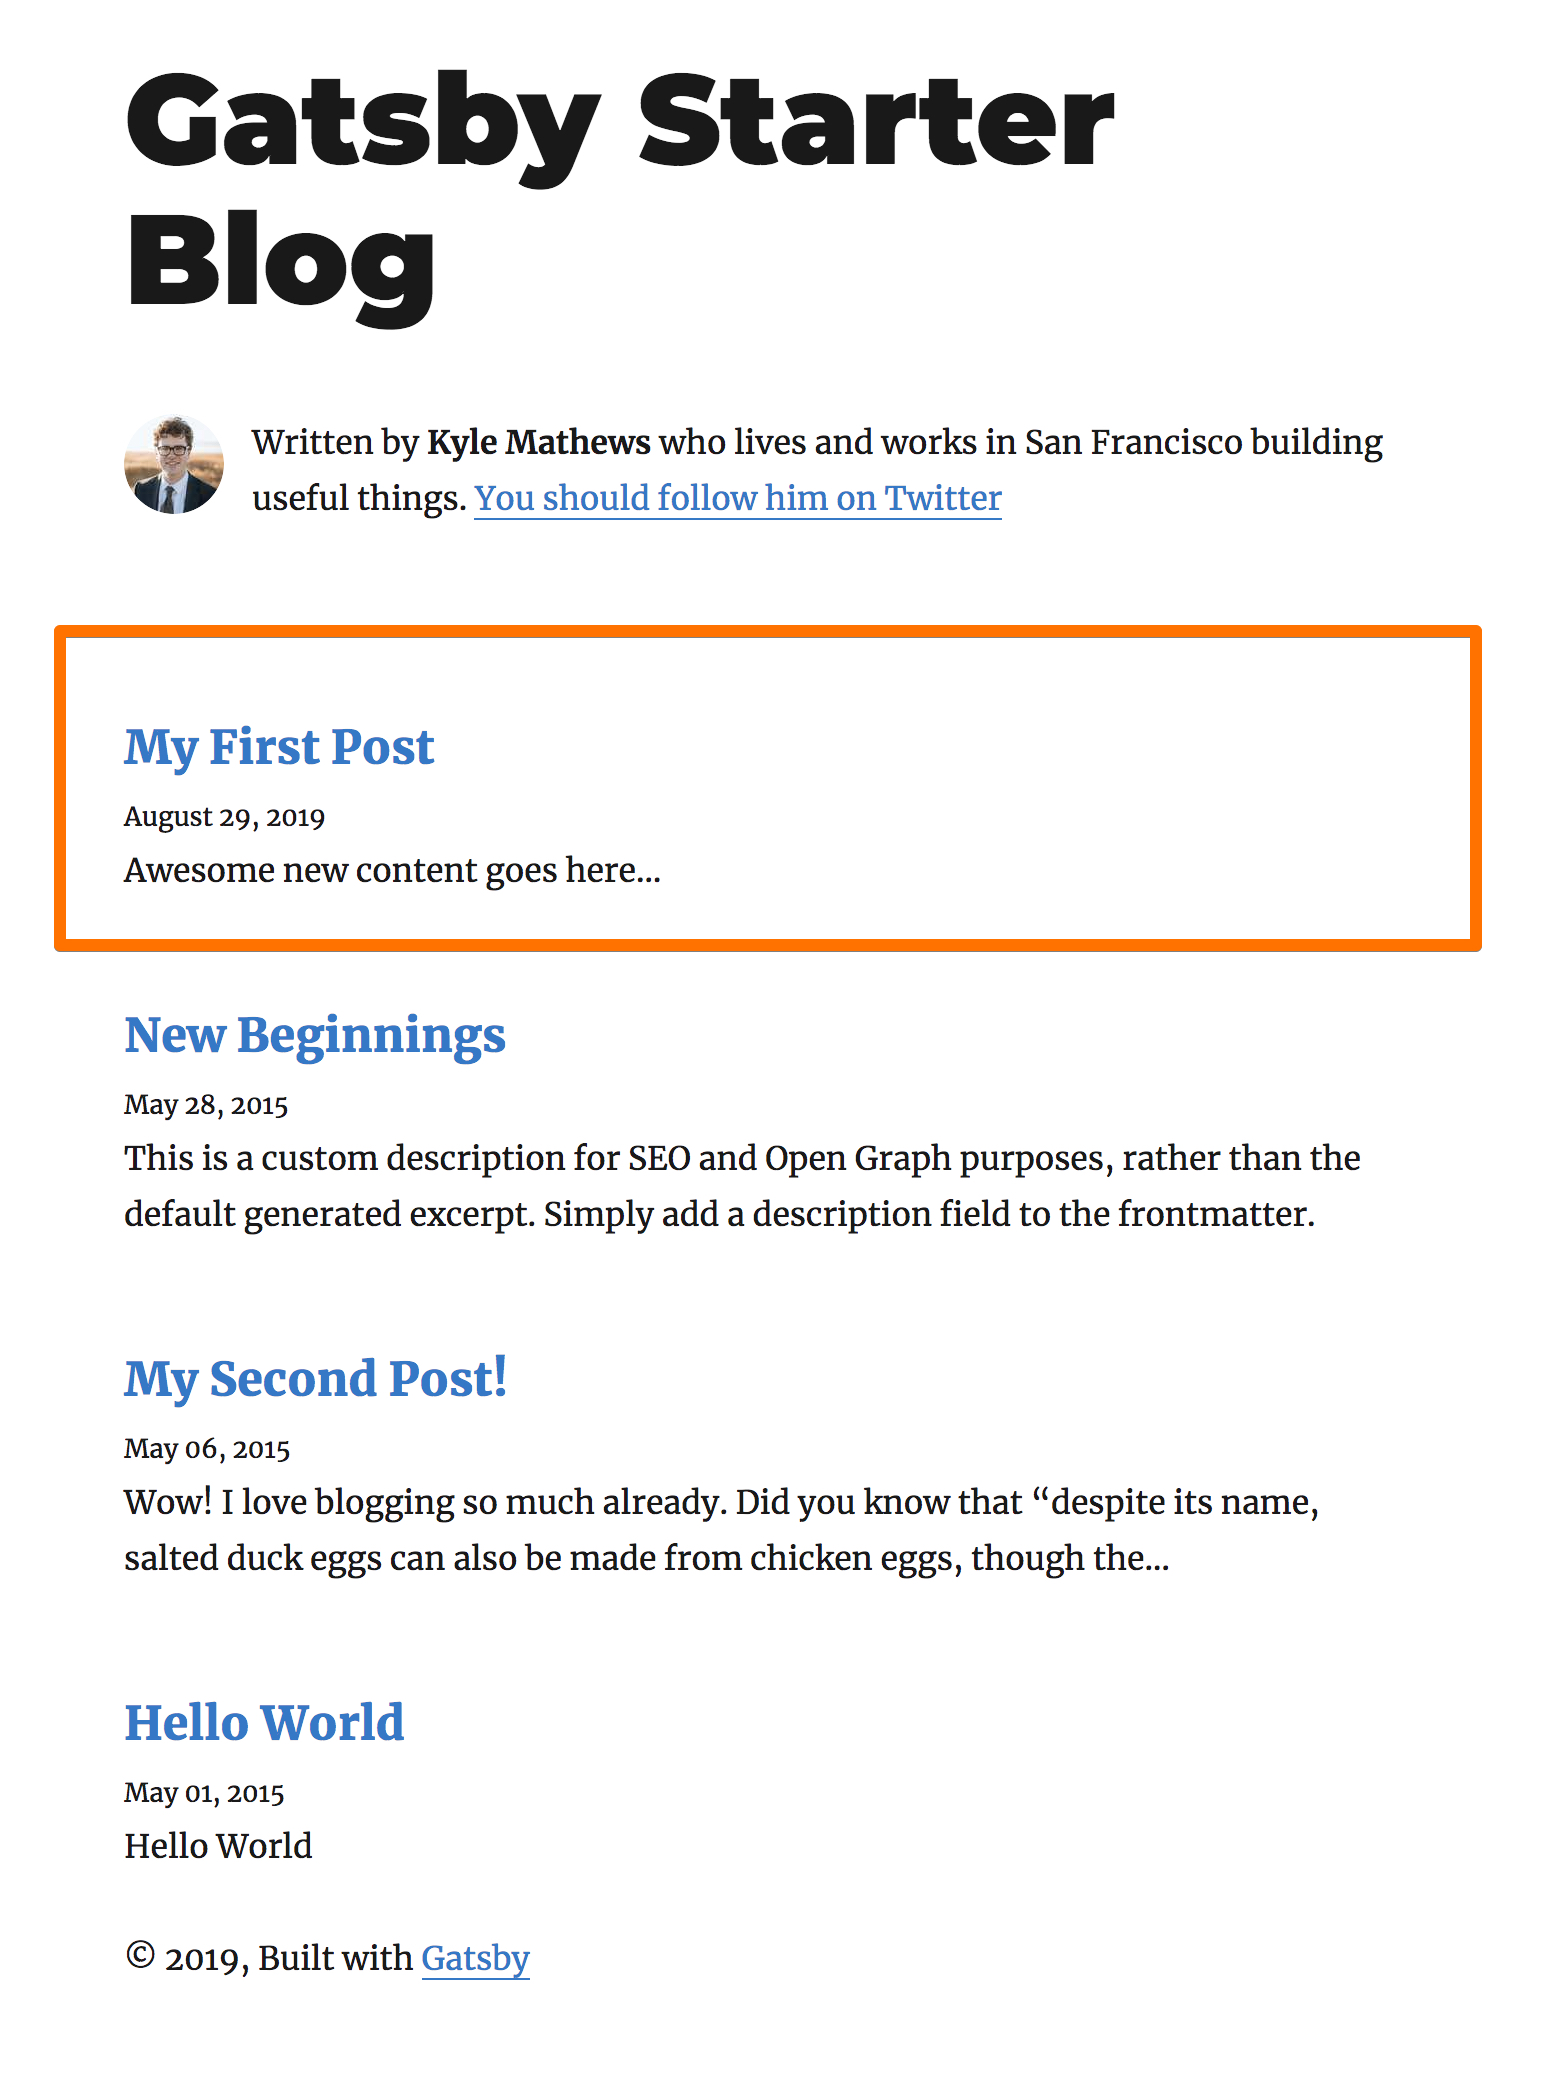
Click on the title link -- and now you should see:

🎉 Congratulations. You've created a Gatsby blog with your first post!
NOTE: you should update all references of Kyle in the code -- not that he's a bad guy -- but it is YOUR blog 😃
Add git for version control
Now that we have a working codebase, let's commit it to AWS CodeCommit.
Sign into your AWS console (you should already have an aws account if you dont you can setup an AWS account here.)
Then navigate to the AWS CodeCommit service:
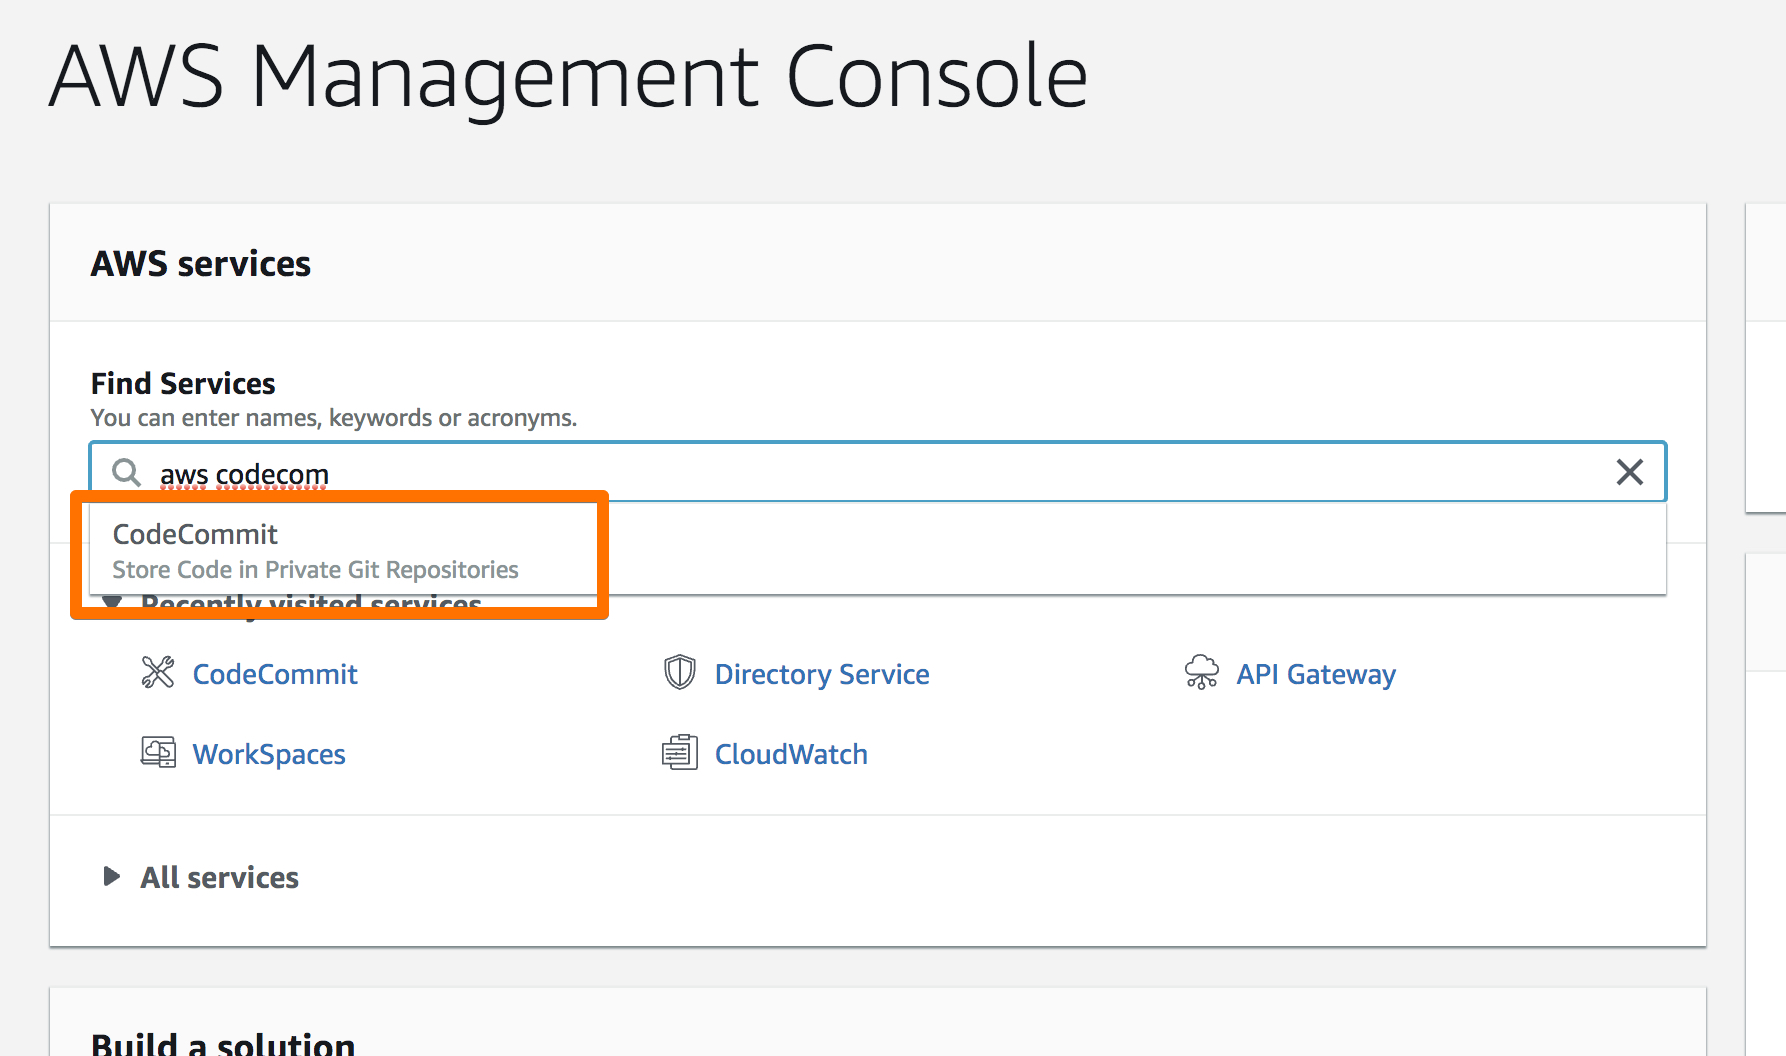
Create a new repository:
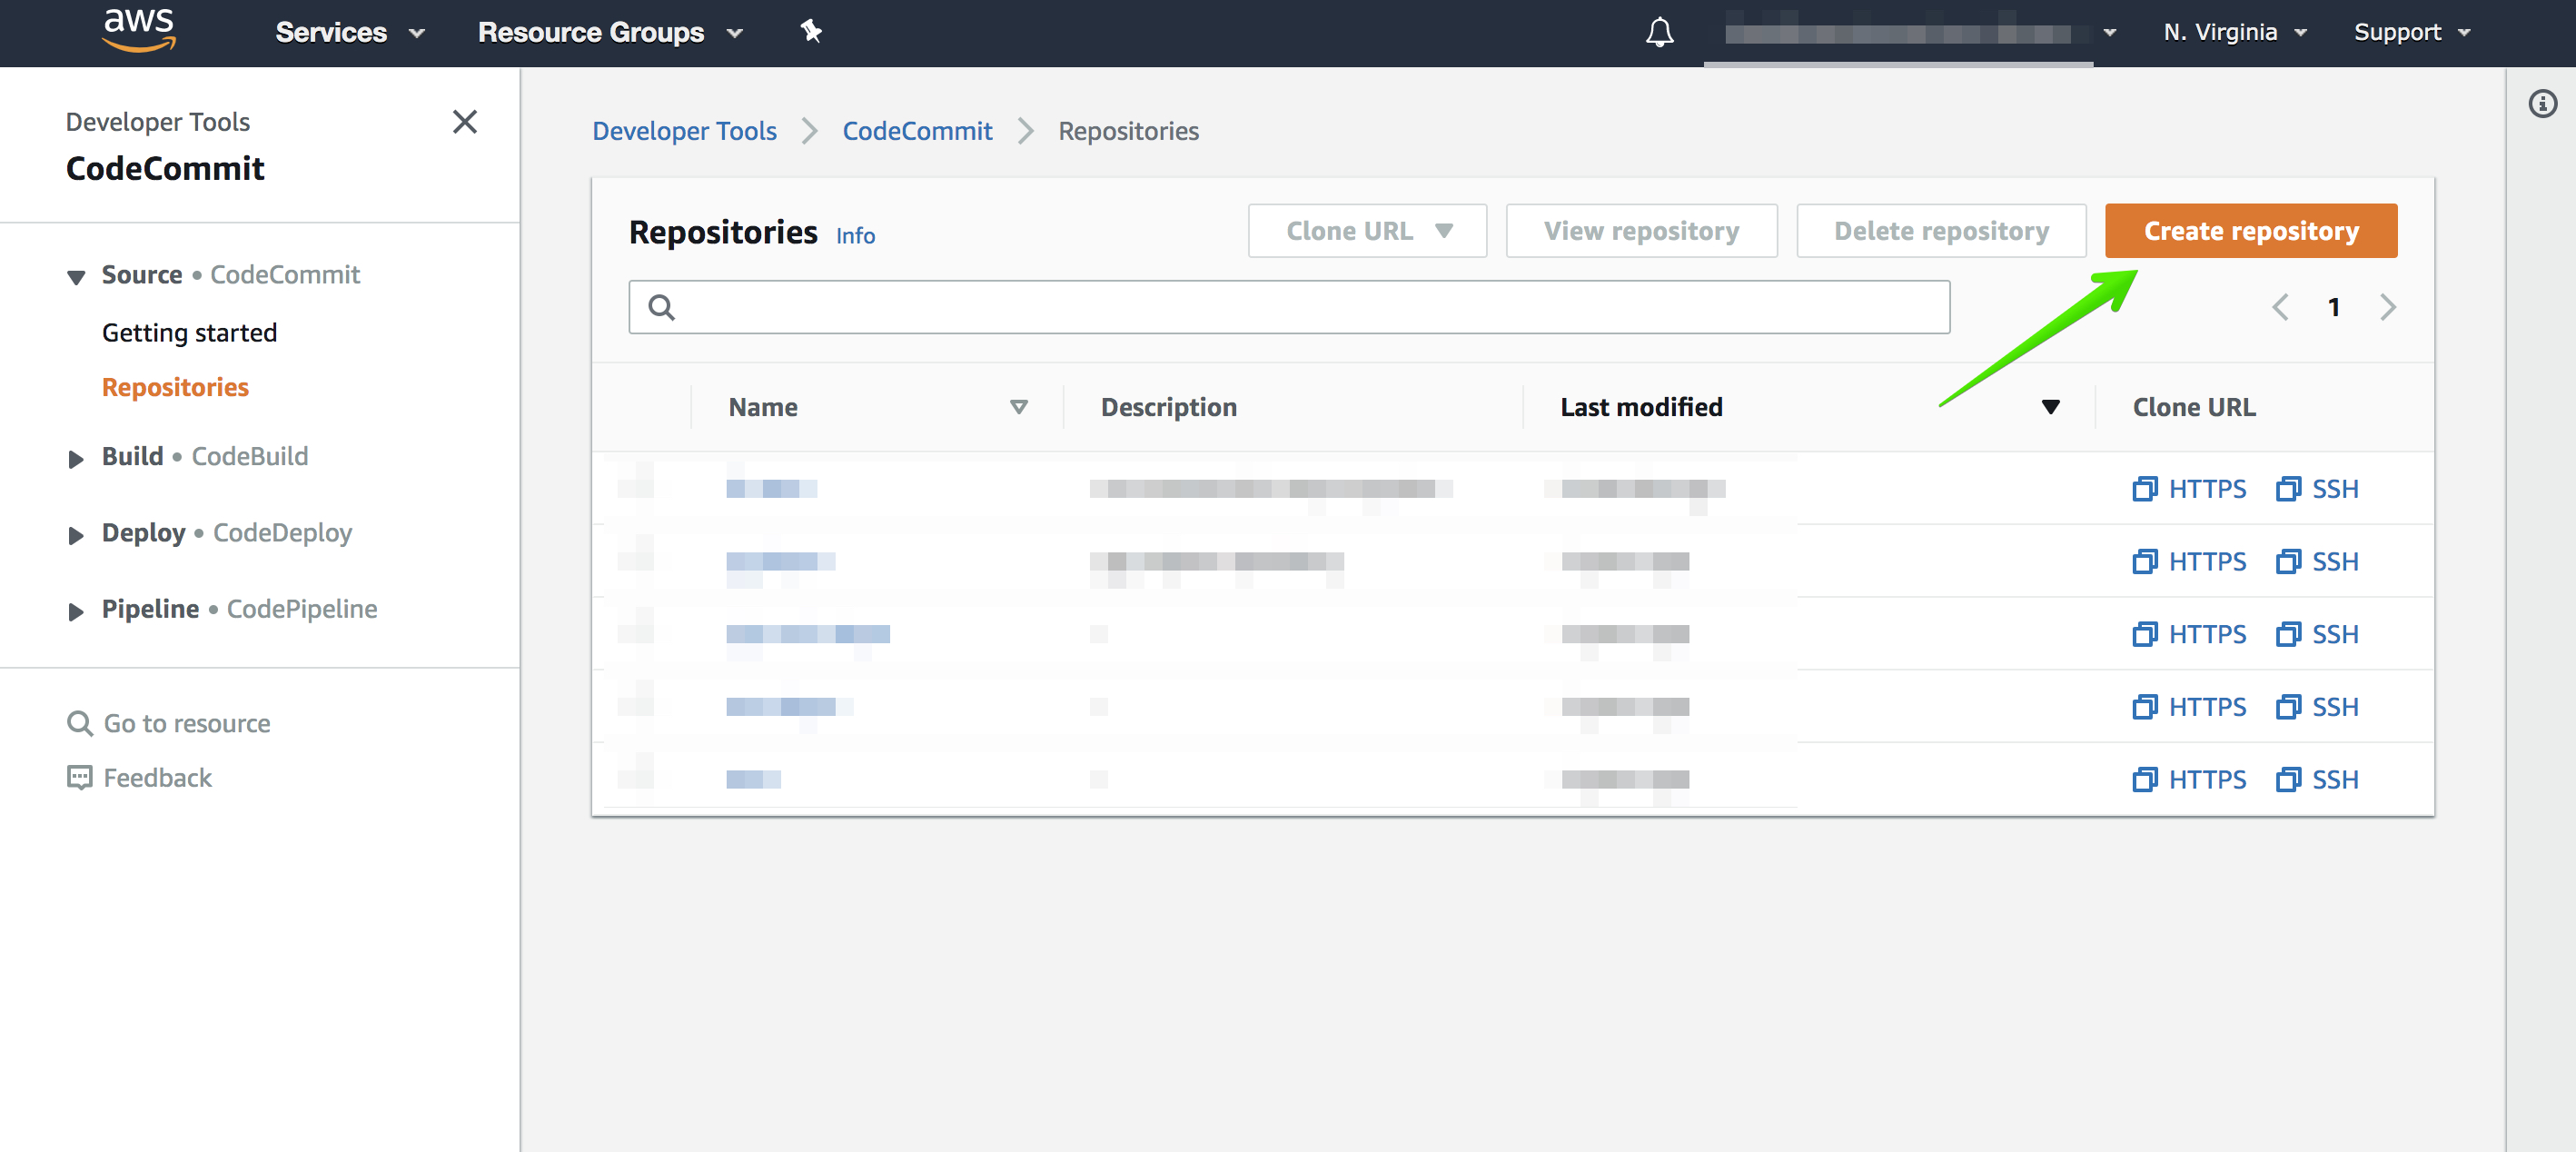
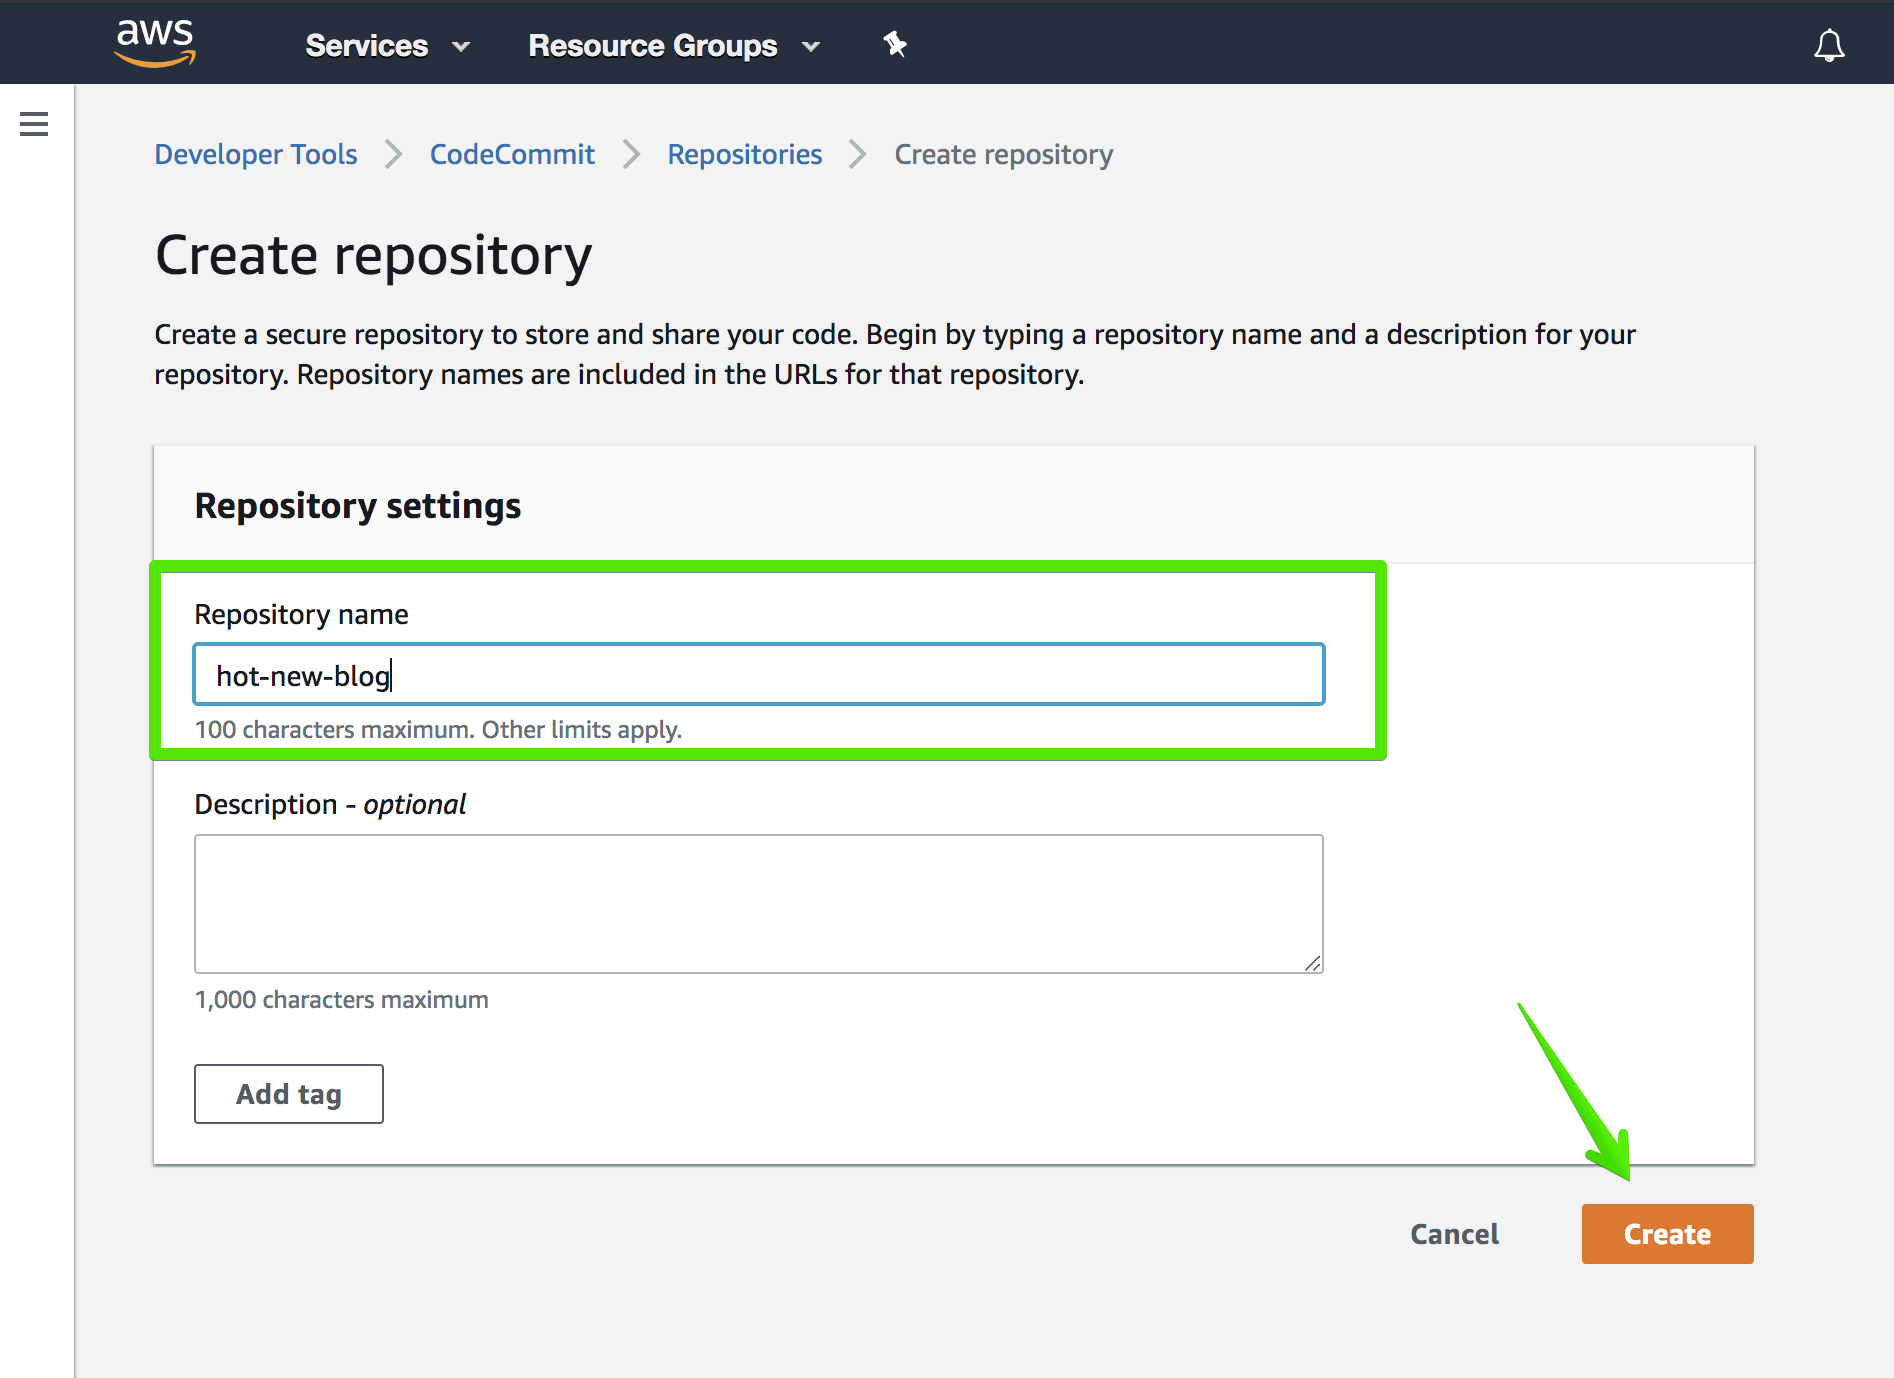
Follow the instructions in CodeCommit to setup your SSH user. This will require creating IAM user and configuring your SSH keys.
Now to commit and push your codebase:
git add -A
git commit -m "setup gatsby, added first blog post"
git remote add origin ssh://git-codecommit.us-east-1.amazonaws.com/v1/repos/hot-new-blog
git push --set-upstream origin master
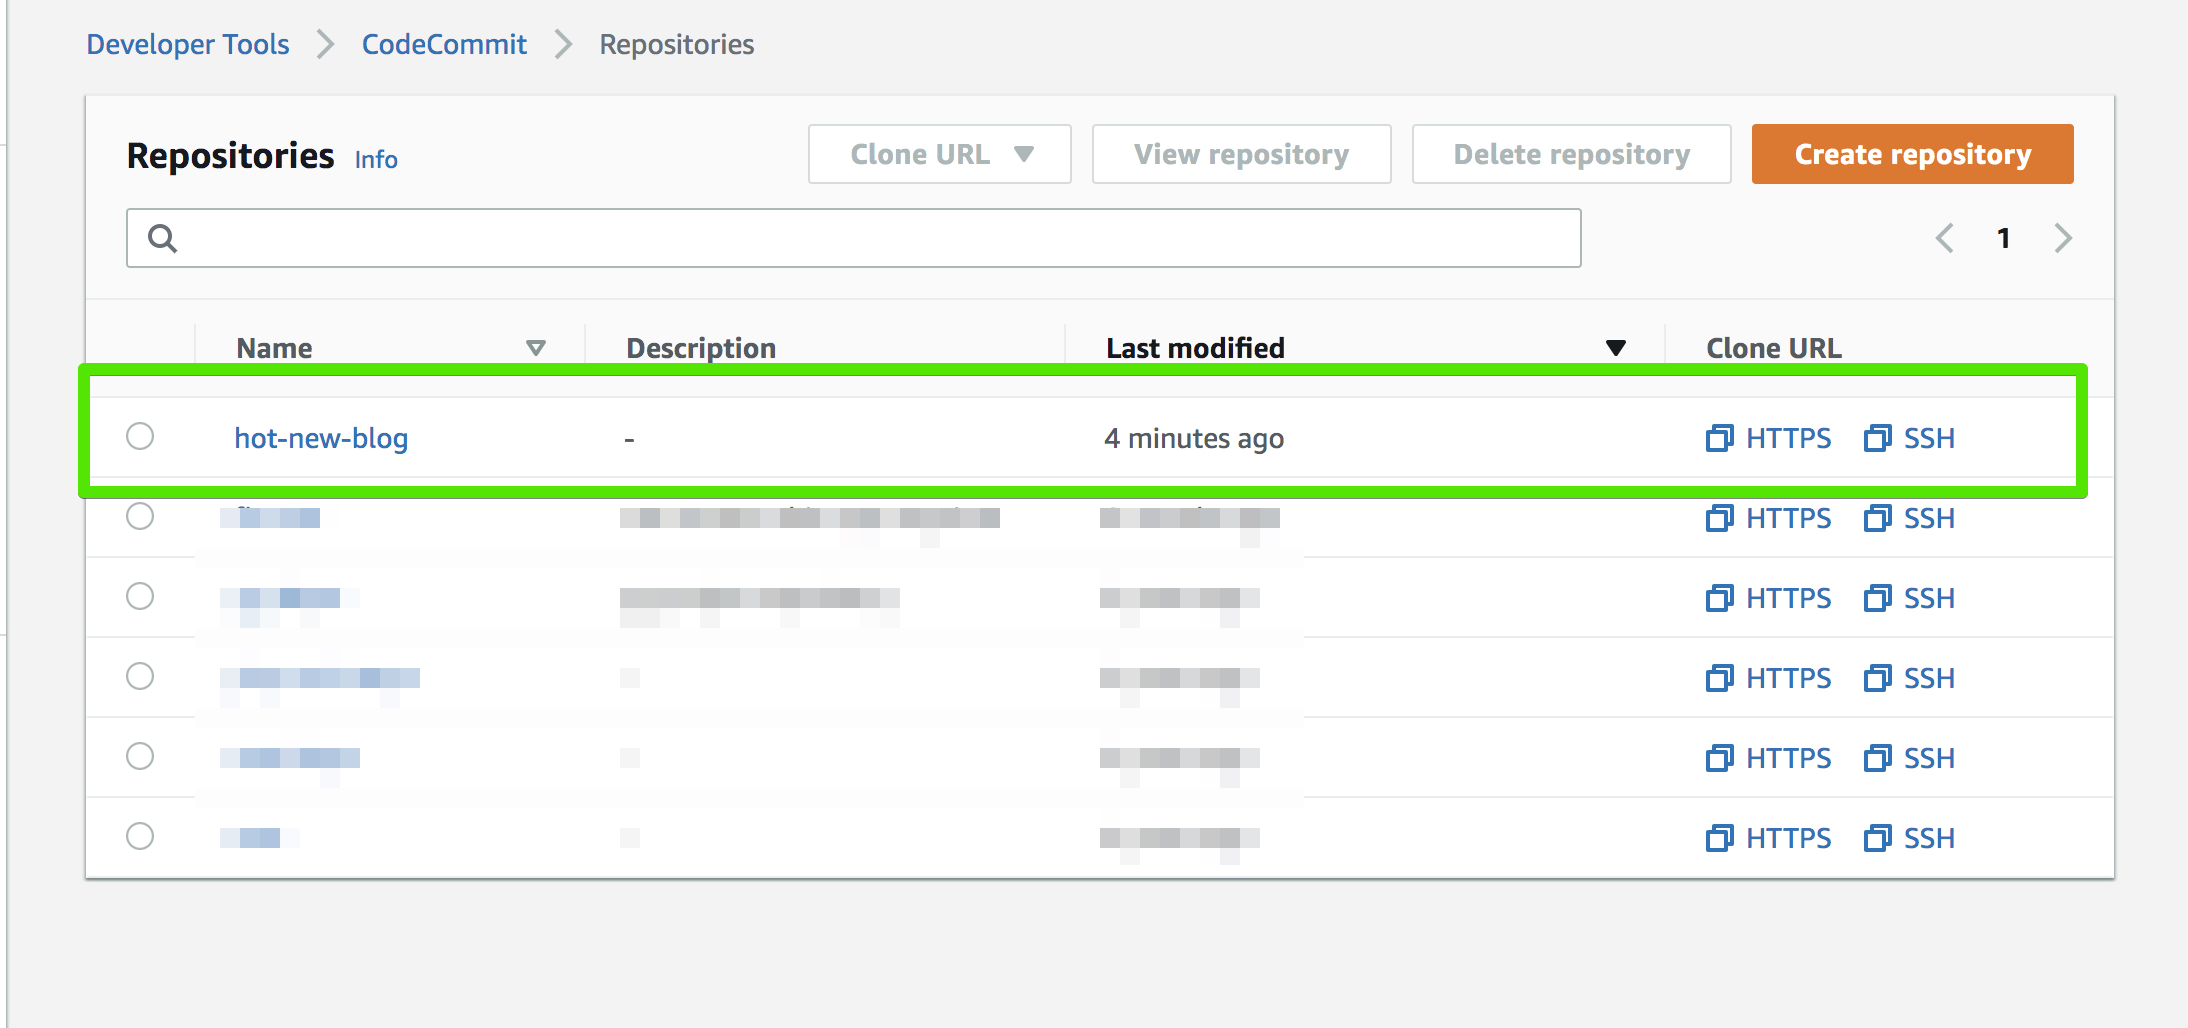
You should now see your new repository in CodeCommit:
In the next article, I will discuss how to test your blog using Jest -- and setup AWS CodeBuild for continuous integration.